As with cooking, you need the right ingredients to make food photos look exceptional. Photos that pop and grab a viewer’s attention.
The good news is that you don’t need to be a Michelin chef to cook a portion of tasty food. Same goes for photos. No need to be a graphic designer or professional retoucher to really improve your photos.
I want to mention Zoner Photo Studio X, software that can actually replace multiple tools many use in their workflow and help you create photos smoothly so you can actually travel and photograph more.
The program is designed with a photographer’s workflow in mind so that it will save you time. The user interface is divided into four modules that guide you every step of the way.
The Manager module for importing and navigating your photo archive, the Develop module for processing photos, the Editor for photo manipulation and the Create module for collage, video or ordering printed photo products. Yes, A to Z and all under one roof.
Save This on Pinterest!
No time to read this food photography guide now? Click on the save button and pin it for later!
Manage Your Food Photos with Ease
You have some very powerful tools to manage your photos in ZPS X. Cull your images using popular star ratings or colour labels but also, don’t forget about metadata.
Add a Title and Description to remember the name of the food or story of the chef. And just like that, information from your travel diaries won’t get lost in some vast pit and will always be on hand!
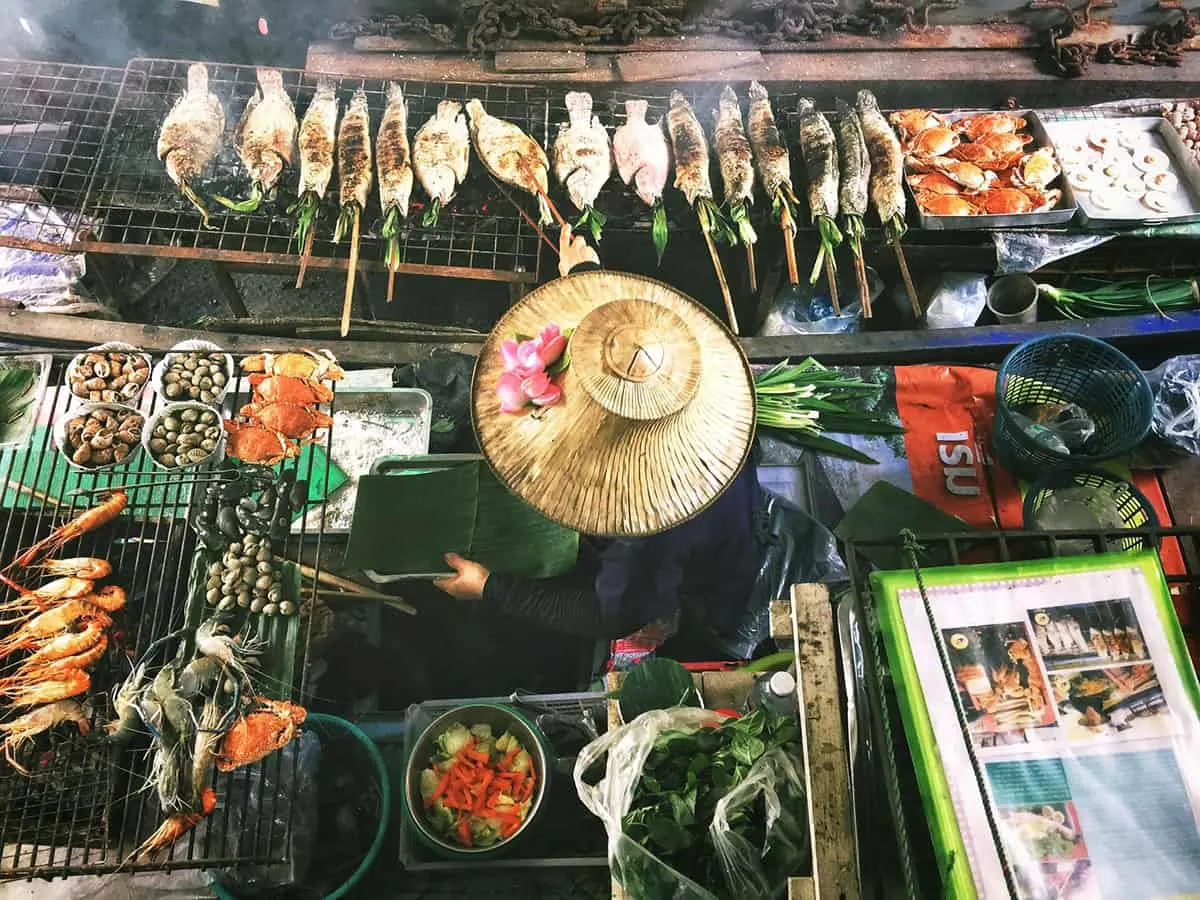
Photo by Lisheng Chang via Unsplash
By utilizing Keywords you can very easily create categories like breakfast, lunch, dinner or distinguish sweet and spicy dishes. For example, you can use the Catalog search function to filter all of your best dessert shots from your adventures from the photo archive with one click.
Does your camera have a built-in GPS? You can use the Map view to pinpoint the exact location of that market food stall you bought from.
Take Your Food Photos to the Next Level
The Develop module is where you will do all the editing. Thanks to the non-destructive philosophy of this module you can always return and modify the settings while preserving the original files, untouched.
Start from top to bottom and make sure that your photo is correctly exposed. You can even overexpose your shots just a little bit so the food on the dark plate stands out.
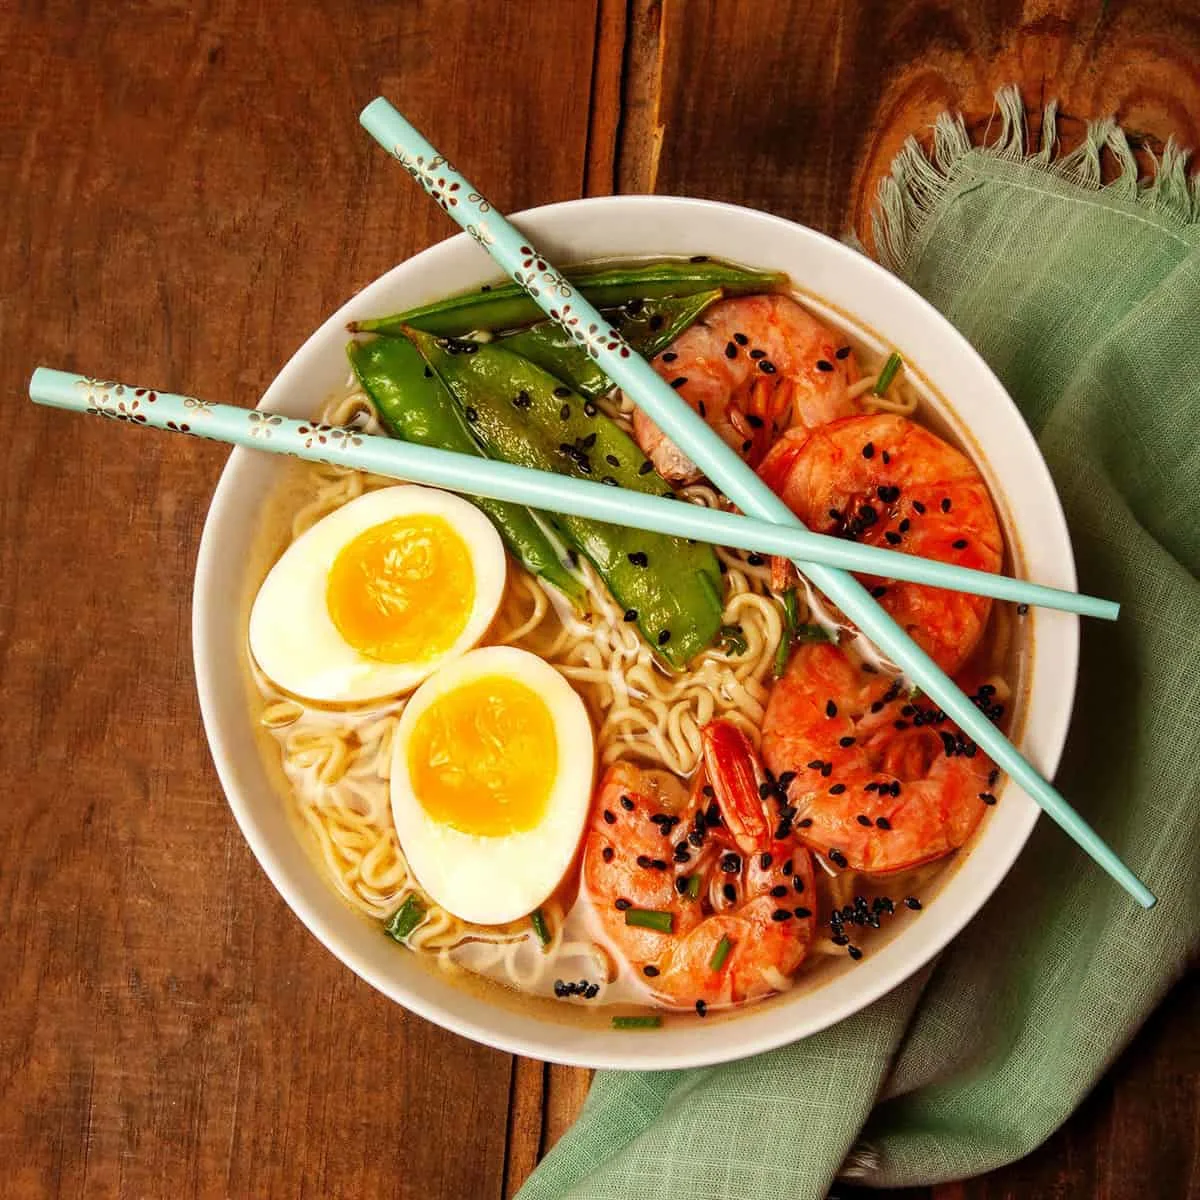
Photo by Michele Blackwell via Unsplash
Compared to other genres of photography when editing, you can utilize and apply heavier adjustments to Clarity and Saturation with food photos.
Clarity creates micro-contrast in your images. It can be considered as a kind of sharpening but only to the edges of important elements in the photo, like the edges of the noodles.
You can apply a Clarity value of +30 safely but be more careful with Saturation. Keep an eye on the details, when subtle hues start to wash out you have gone overboard.
Staying around a value of +15 should be your maximum. On the other hand, you don’t really need to be careful with the Vibrance slider.
If you would like the meal to pop off in the background a little bit more, you can use Local adjustment tools – the Radial and Gradient filter or the Filter brush.
Just simply paint over the food and adjust values accordingly. A good recipe to start with would be: Exposure by +0,3 EV, add 10 points of Saturation and Clarity.
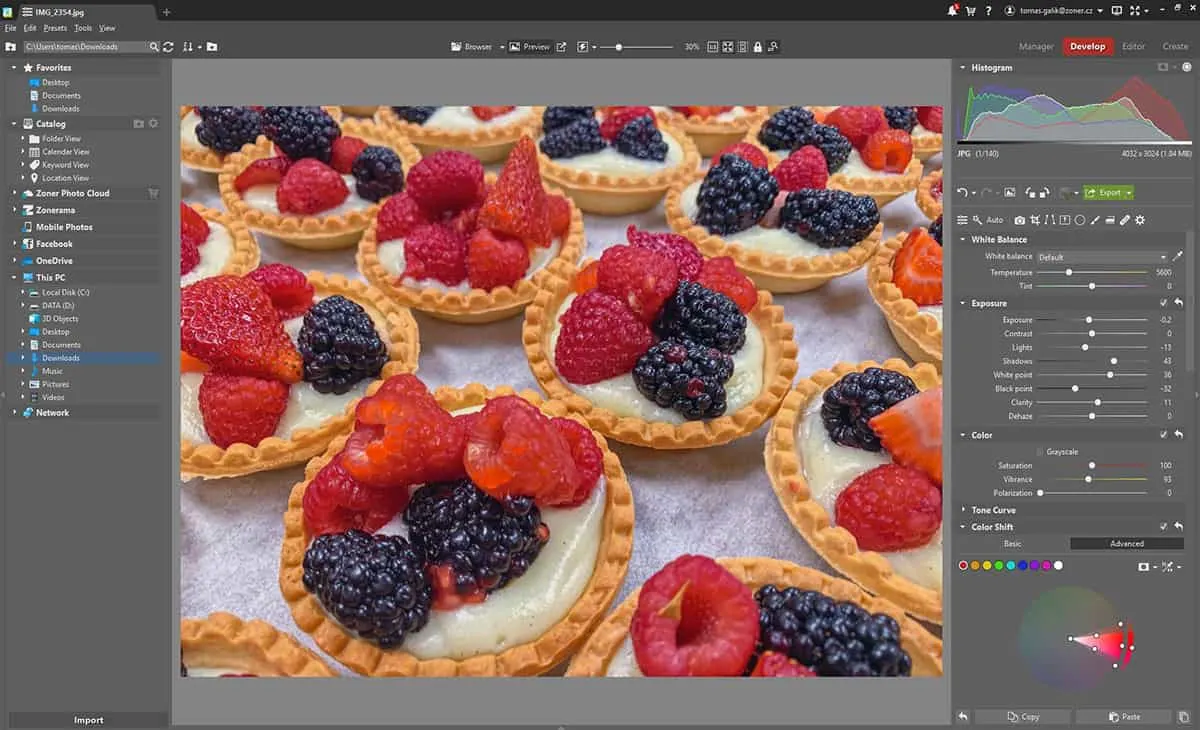
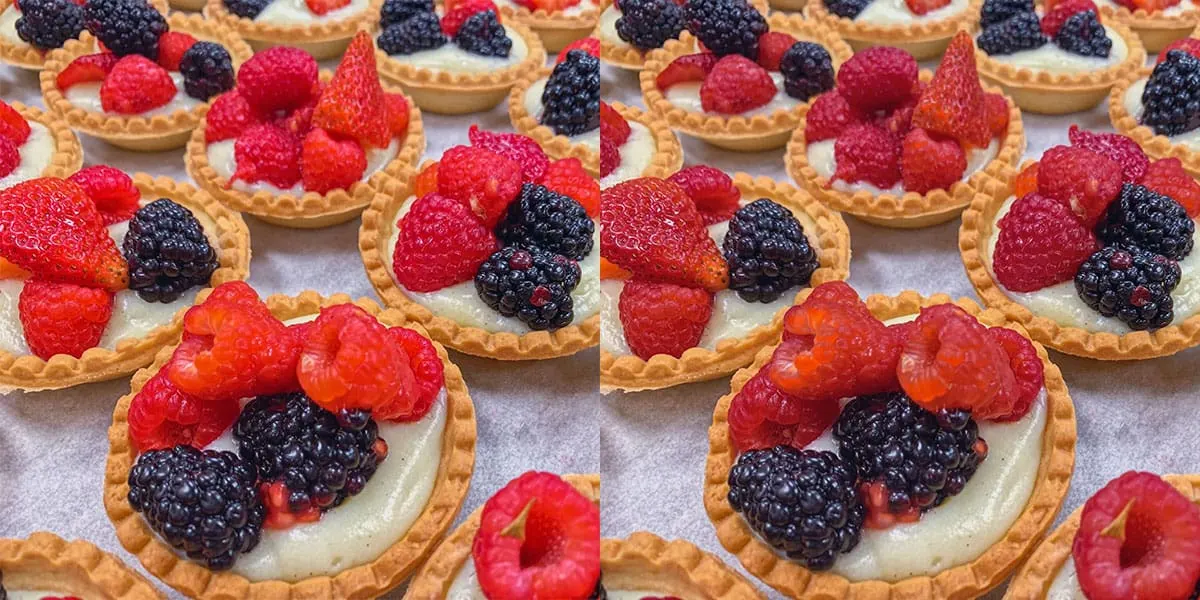
Photo by Siami Tan via Unsplash
Selectively editing even specific Hues is easy with the Color correction tool. Plus, you can set Smoothness or show a mask for even more precise editing in the Advanced mode.
And for the icing on the cake, don’t forget to apply Sharpening, this will literally give you an edge. Again in food photos, you can be generous with this setting.
You can speed up your workflow by using presets that are built-in or create your own. Just be careful and make sure that your food photos still look natural and “appetizing”.
Unlimited Possibilities in Editor
Would you like to unleash your creativity further? The Editor module with Photoshop-like support allows you to create composite images by using filters and masks. Changing a boring sky in the background is possible here too.
Also, imagine the following: It was a long day of travelling, you are finally sitting at the restaurant with your friends. Most likely you will be very hungry and not patient enough to wait for all of the meals to arrive on the table to create that rich meal-filled table photo.
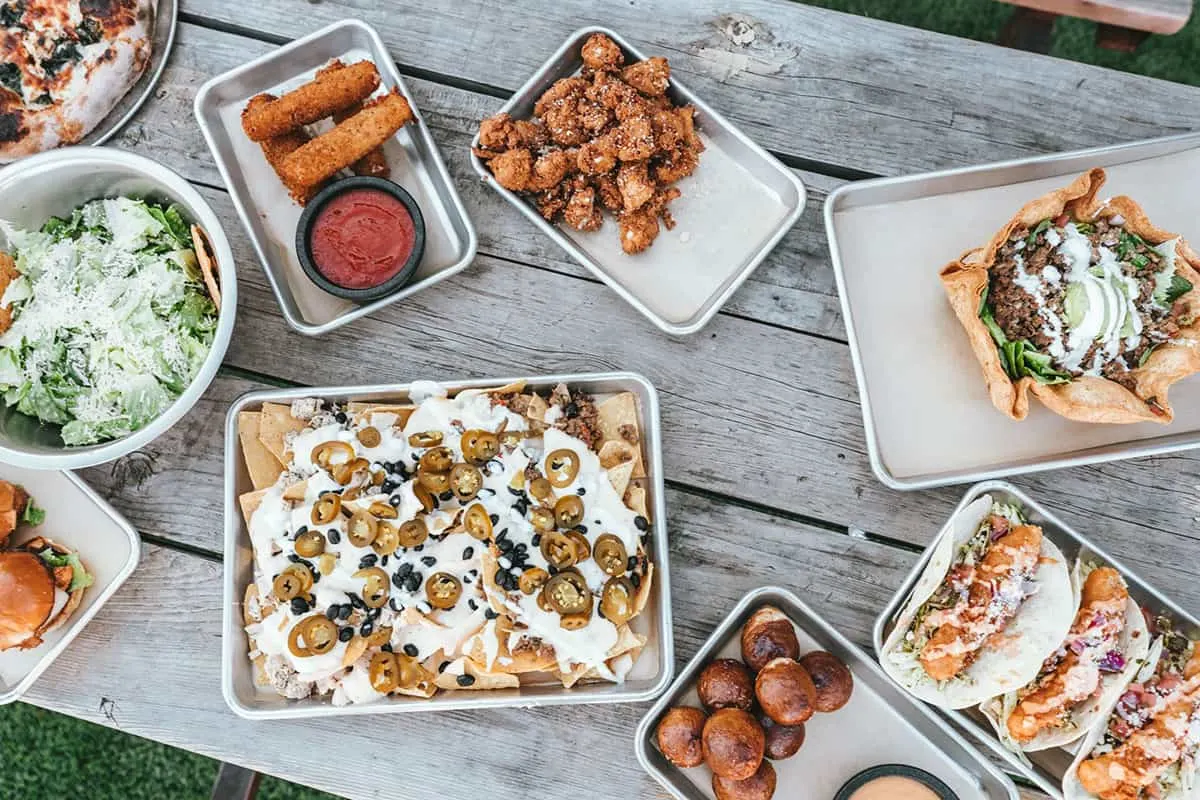
Photo by Spencer Davis via Unsplash
Prohibiting others to dig in and wait? Mission impossible. But you can cheat a bit using this trick: Prepare a tripod, shoot the meals as they come, eat, bon appetit and repeat.
In Zoner Photo Studio X you can easily merge multiple pictures and fill that table in post-processing. And remember, no need to shuffle to another program!
Create Module and Sharing
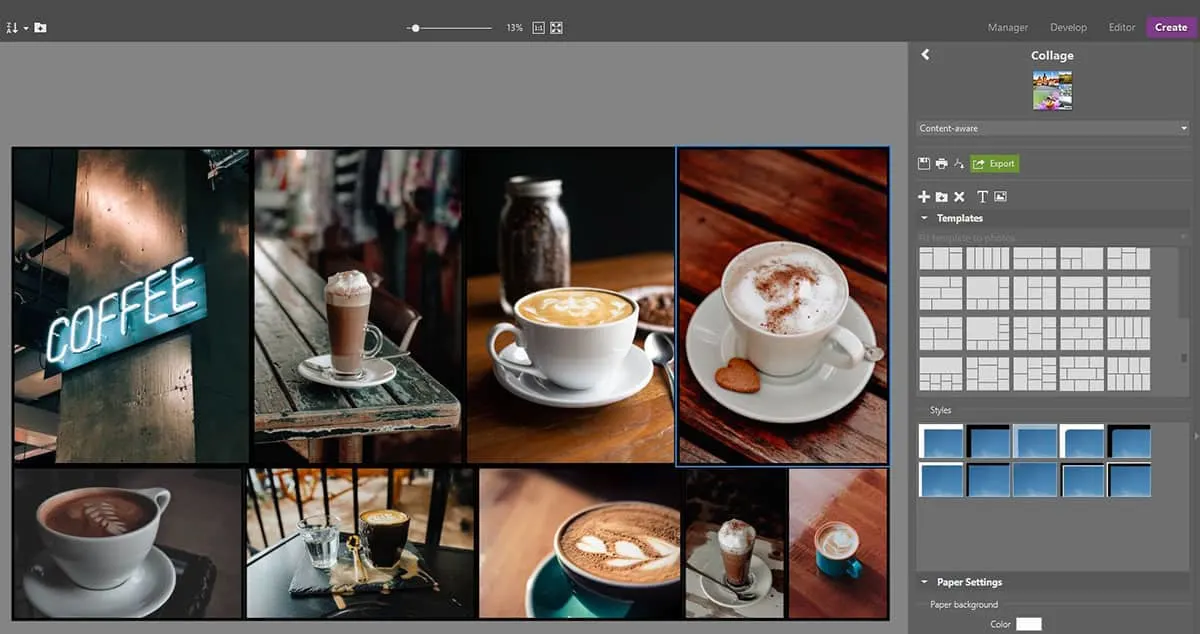
To finalize the post-processing you can stop by the Create module. Here you can even create short clips or slideshows in the Video editor, order printed photo products like postcards or photo books but my favourite is the Collage.
It can be beneficial to group similarly themed images from your trip into one. Most likely you will end up with various images, some horizontal, some vertical.
The best thing about Collage feature is that it utilizes a Content-aware option that will automatically create a collage from images with various aspect ratios, without any cropping. No need to fiddle with the grid or adjust borders, just select the photo and template.
As with the last step, you can export your final photos using Export presets. Save to your hard drive, optimize them for Instagram or in full resolution to the unlimited Zonerama online album. There are many options and you can actually do it simultaneously by clicking the export button only once.
As you noticed, achieving those distinct food photos that catch the eye, only takes a few moves. Going from an image that was rather dull to one that shows those subtle colours changes and textures just takes a few clicks.
Give it a try on your own, you can actually download a 30-day trial for free. To get yourself orientated, you can also rely on articles on the learn.zoner.com portal or YouTube channel so you’ve got nothing to lose.
What is your experience with editing food photos while travelling? Do you have some other tips and techniques that help you or could help others? Let us know in the comment section below.
Disclosure
This article was published in partnership with Zoner Photo Studio X.
